Leider gab es ja nie einen Monitor von ATARI, nicht mal ein Fremdfabrikat in entsprechendem Gehäse (ausser Vapourware). Da heisst es dann selbst Hand anlegen und vorhandenes umbauen. Hier seht ihr wie man es machen kann.
Sadly, there never was a monitor made by ATARI (besides vapourware). Time for DIY! Here is (just) an example of how to do it.
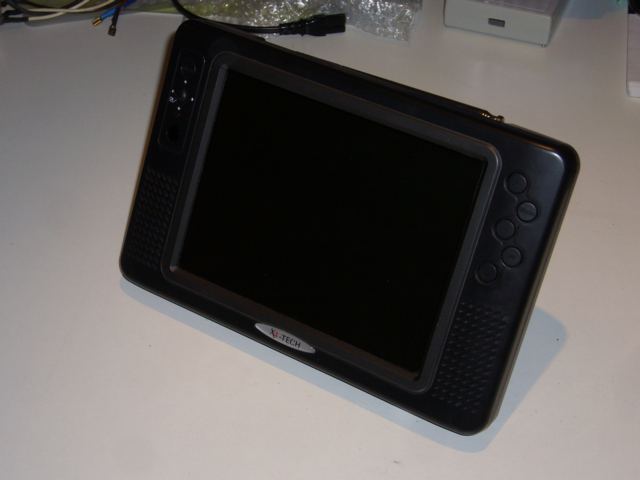
Dies ist das "X4-Tech" 8-Zoll-Display, das in das alte SM124er Gehäuse einziehen soll. Hat etwa 200EUR gekostet, kann DVB-T, S-Video, FBAS, Stereo links/rechts, VGA und hat eine Fernbedienung und ein externes Netzteil.
This is the X4-Tech 8" display I used for the mod. It will soon have a new home inside an old SM124 case. (technical data: DVB-T receiver built in, FBAS (composite video), S-video (Hosiden-plug), VGA connector, stereo plugs, comes with remote control and external power supply.

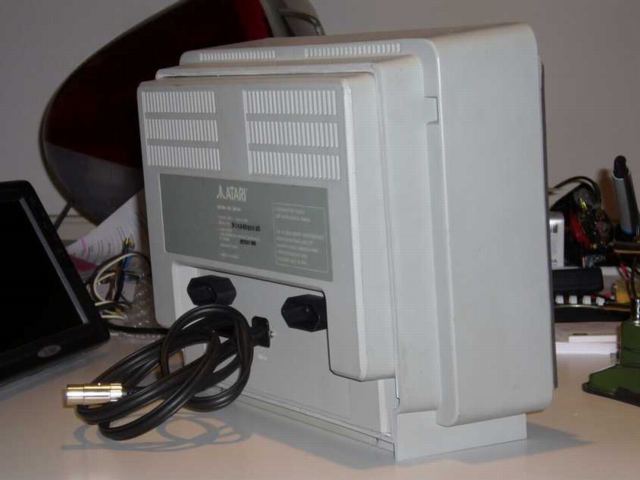
Zunächst entfernen wir das Innenleben des SM124 und sägen etwa 8 cm aus dem hinteren Teil heraus. Nun ist der Monitor schön kurz geworden.
First thing to do: remove the guts from the SM124. Second thing to do: get the hacksaw and remove about 3 inches of plastic out of the back part of the case. Glue it back in. Now the monitor looks a bit shorter.
Die Rückseite erhält zwei Netzsteckdosen, damit der Kabelsalat um den ATARI herum ein Ende findet.
I added two wallplugs to the back part to get rid of the cables always lying around my ATARI. Really tiedies things up!
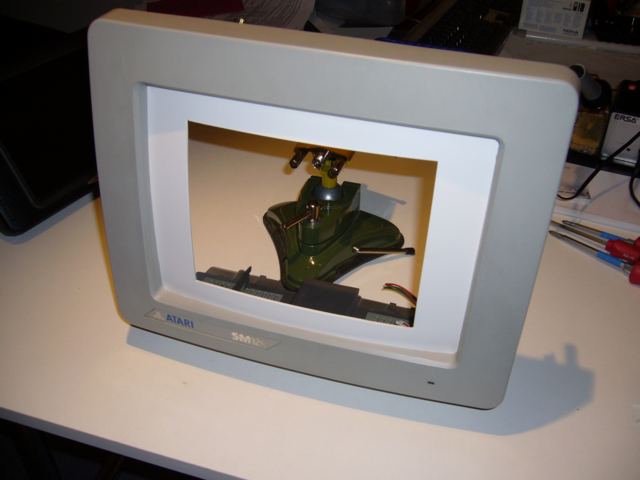
In die Front kommt eine PVC-Platte mit passendem Ausschnitt. Die alte Röhre wird als Anpresshilfe missbraucht und danach fachgerecht beim Elektroschrottplatz entsorgt.
The front side gets a bezel made of PVC plastic. The old tube helps us to fix the bezel by applying force to the PVC (needs to be bent) until the glue settles.

Danach wird das TFT-Display eingebaut. Gehalten wird es durch vier Korkklötze (hier nur 2 zu sehen), die aus einem alten Schleifklotz entstanden sind sowie zwei Lochbandstreifen zwischen den alten Aufnahmen der Röhrenhalterung. Passt perfekt! Der AN/AUS-schalter wird neu verkabelt und schaltet später die ganze Stromversorgung -auch die der beiden neuen Steckdosen- an und aus.
After that the TFT display is fitted into the front part. Two (4 but only 2 visible here) pieces of cork assure the centered placing of the display, a strip of metal fixes it finally. The ON/OFF switch is rewired and will control the power for the whole unit (TFT and the 2 plugs).
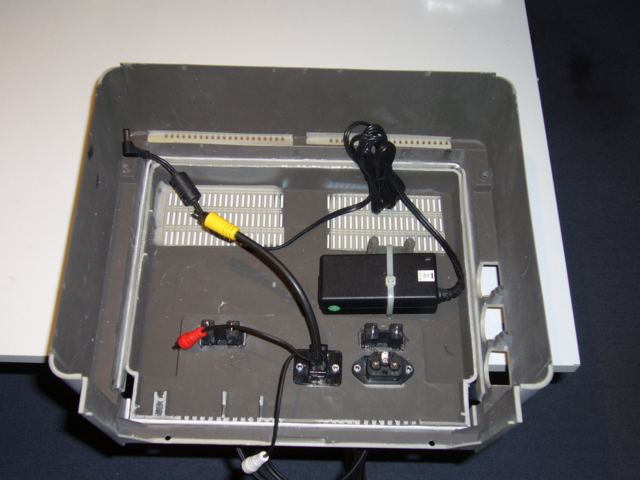
Das Netzteil findet seinen Platz an einer Aufnahme an der Rückseite des Gehäses. Das Videokabel wird durch die alte Videokabeleinführung gefädelt.
The power supply finds a cozy place on the back part. Tied fast with a cable strap. The video cable takes the same way as the old video cable does - through the black clamp thing.
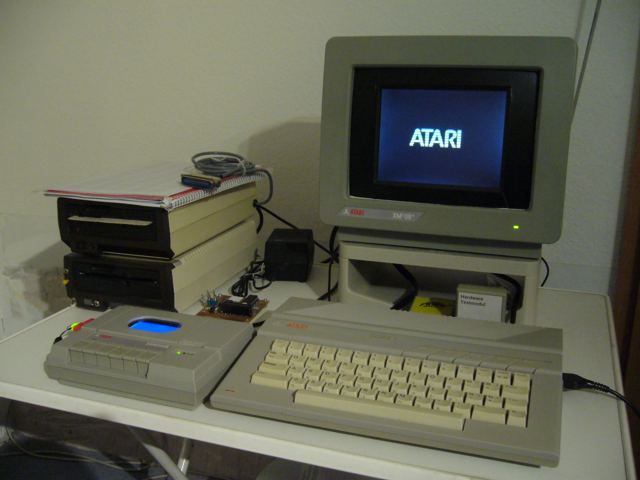
Noch einen Aufkleber an die Stelle der alten SM124 Alublende und das Gerät ist fertig. Die Frontblende hat vorerst einen schwarzen Folienüberzug bekommen, weil der Kontrast zwischen schwarzem Screen und weisser Umrandung doch zu arg war. Später wird das lackiert.
Finally, a new frontplate sticker with the new number of the unit and a bit of black self adhesive foil for the bezel (contrast between black and white plastic was too much for my eyes).
Weitere XE-Style Umbauten: / More XE- Style Mods:
XSIO2USB
MultiJoy XMJ8
XSH4 SIO Hub
Hauptseite/Main Page